PhotoSmith™
– How To –
Upload Your Job(s) and Login
Upload Your Job(s)
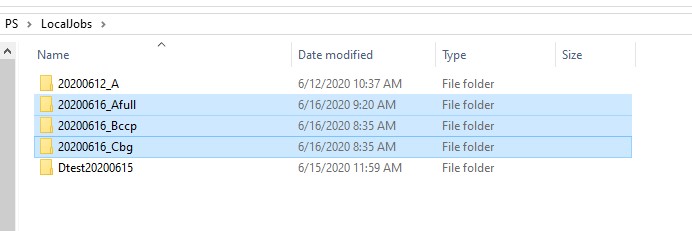
Use the FTP instructions provided to you to access the PhotoSmith server and upload your job folder(s).
Log Into PhotoSmith
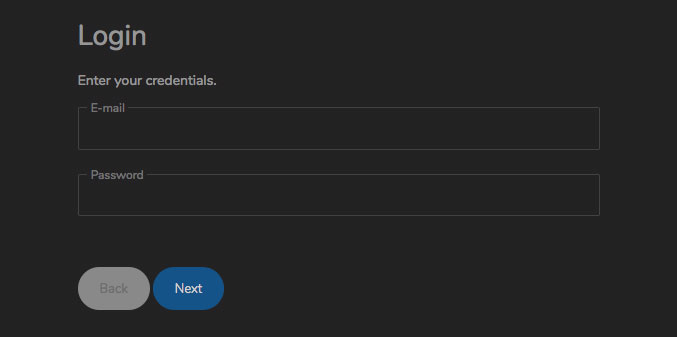
Once your job have been uploaded, log into PhotoSmith using your Email and Password.
Processing Your Job(s)
Prep Your Job
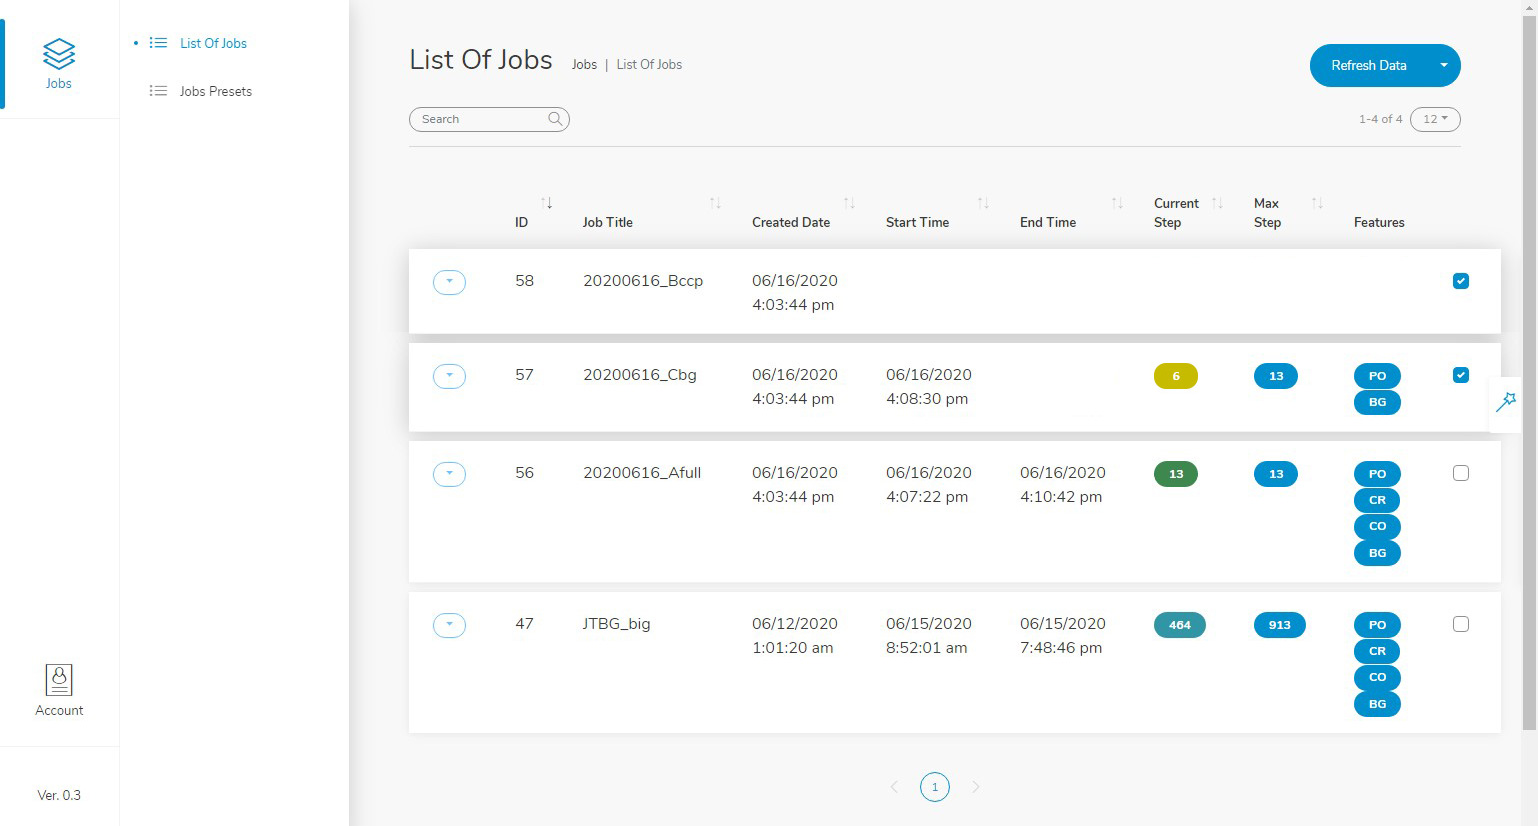
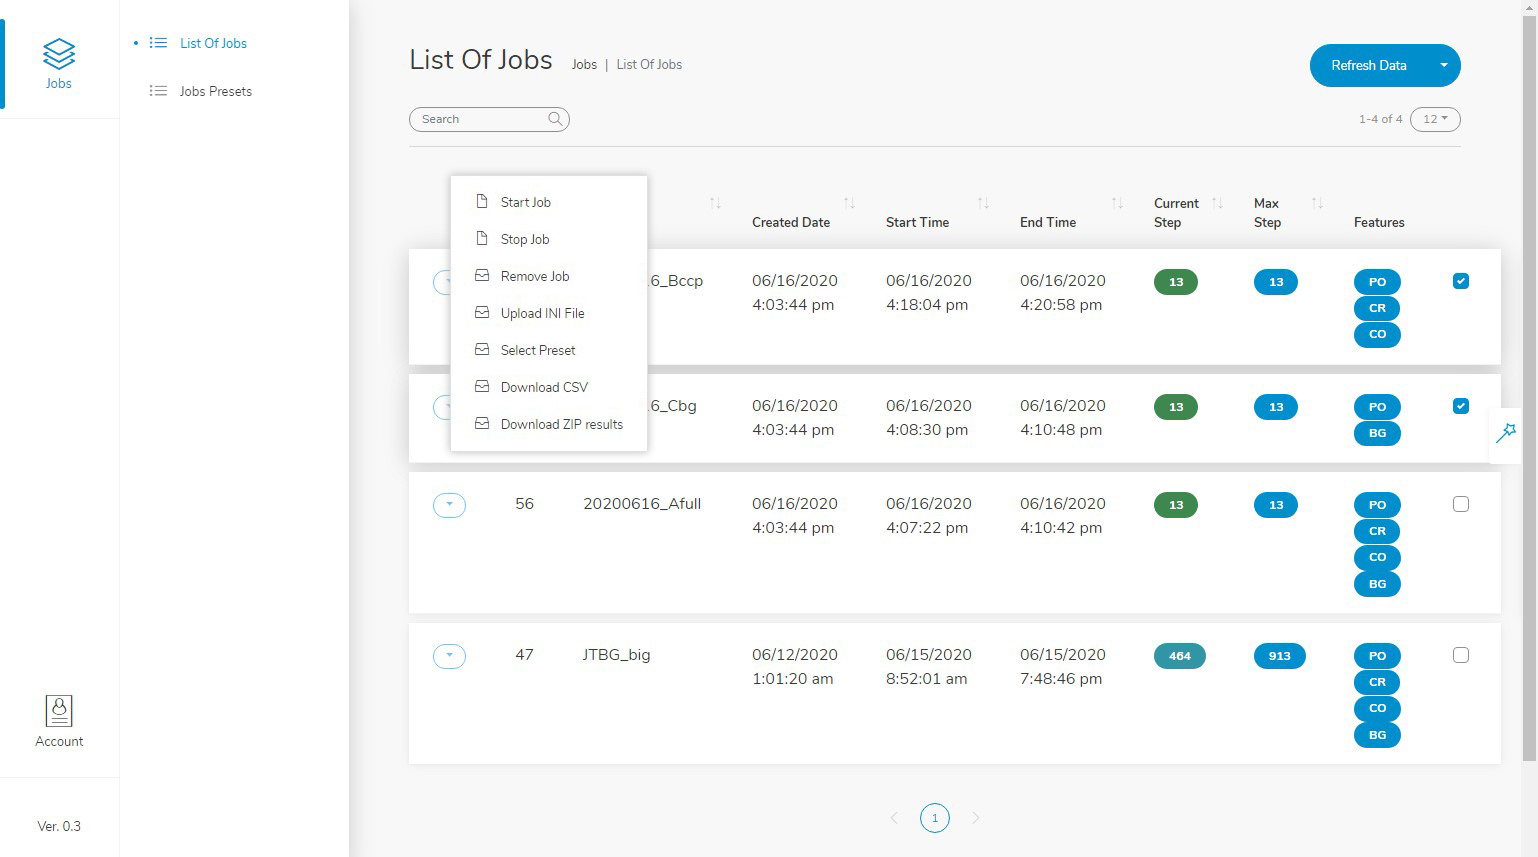
After you log onto PhotoSmith you will need to click on “Refresh Data” to see your recently added job(s).
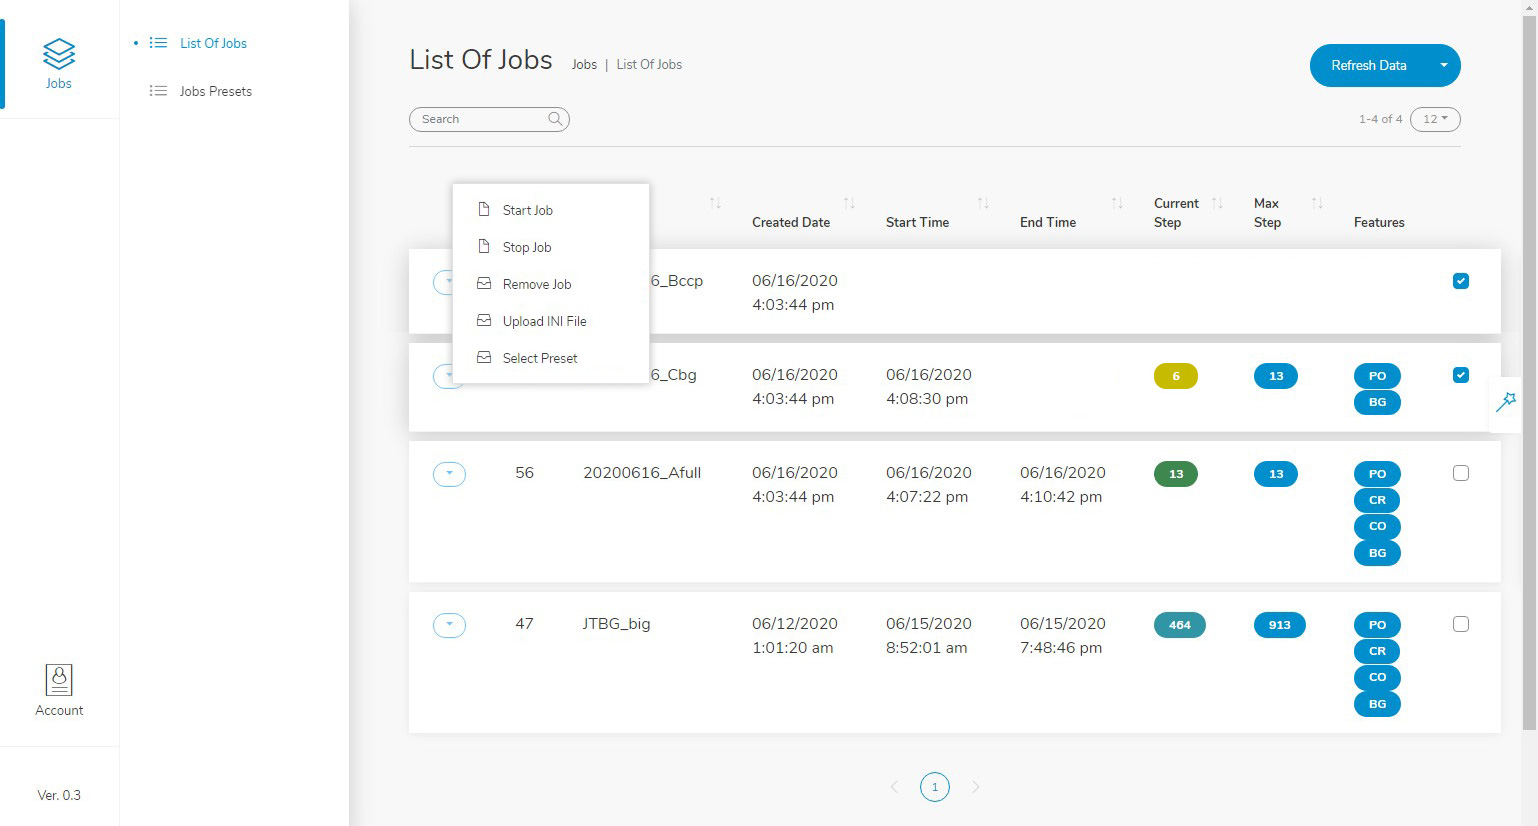
For each job, select the Preset you would like to use. Click on the button to the left of the job and choose “Select Preset” from the dropdown menu.
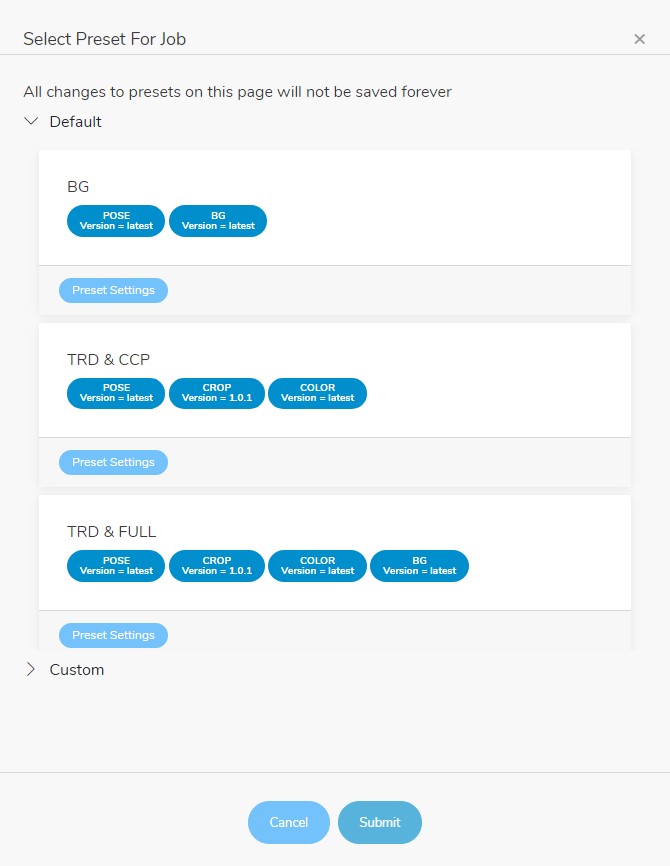
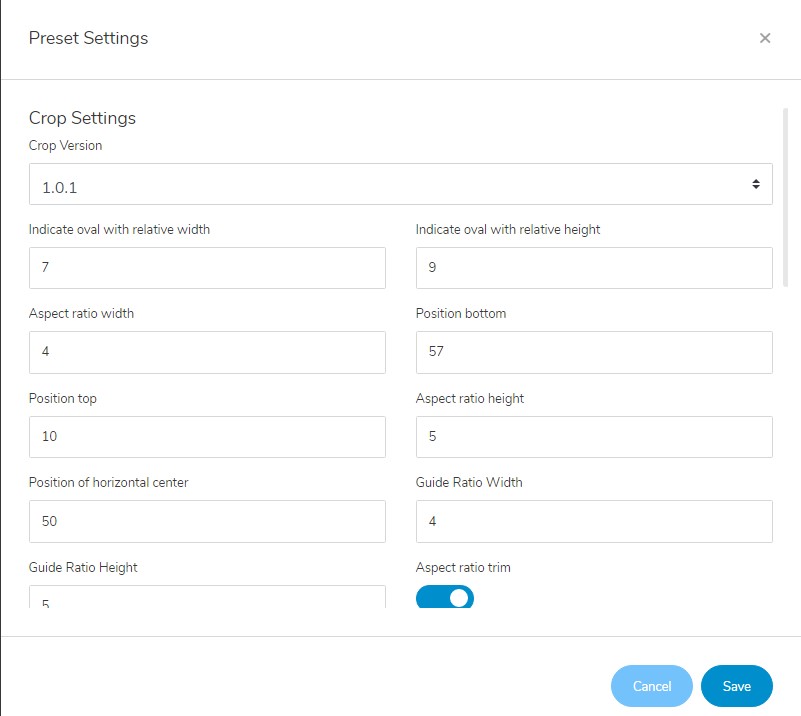
Select an existing Preset, or click on the “Preset Settings” to customize the Preset. Once you have selected your Preset, click on the “Submit” button.
Now that you have chosen your Preset, select “Start Job” from the pulldown menu to begin processing the job.
See Progress and Download Results
See Progress and Download Finished Job(s)
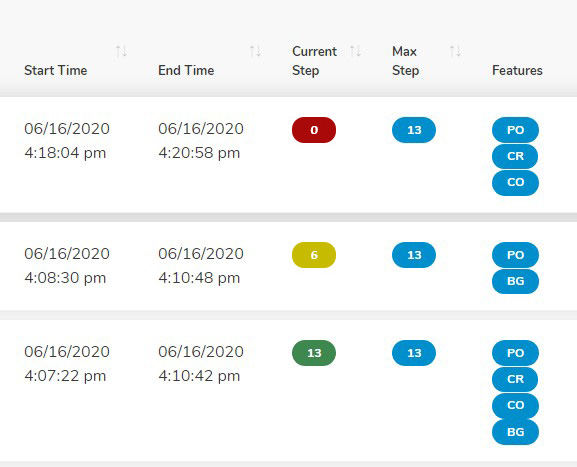
To see the progress of your job(s), click on the “Refresh Data” button. You will then see a Start Time, End Time, Current Step (number of images processed), and Max Step (Number of images in job). The Current Step will either be Red (just starting), Yellow (more than halfway done), or Green (job has finished processing).
Download Job Results
Once PhotoSmith is done processing, select either “Download CSV” or “Download ZIP results” from the pulldown menu. Selecting “Download CSV” will download the CSV file to use for applying the corrections. If the Background module was included in your Preset, selecting “Download ZIP results” will download the background PNG files.
Your Done!
Removing the Finished Job(s)
After you are done downloading, you can then remove your finished jobs by selecting “Remove Job” from the pulldown menu.

